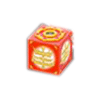
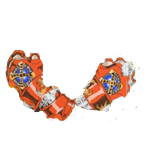
วันนี้ผมวิธีการตัดขอบ-ทำให้นูนของแรงค์มาฝาก เพราะบางคนยังไม่รู้ เครื่องผมอาจจะเก่าหน่อยนะคับ(photoshop รุ่น cs)
วิธี การตัดขอบ
1.(ห้ามโดนขอบ)
[You must be registered and logged in to see this image.]
2.ไปที่select > modify > smooth[You must be registered and logged in to see this image.]
3.[You must be registered and logged in to see this image.]
4.[You must be registered and logged in to see this image.]
5.แล้ว กดDelete ก็จะเป็นดังรูป
[You must be registered and logged in to see this image.]
วิธี การทำภาพให้นูน
1.กดFsด้านล่างแล้วคลิกที่Bevel and Emboss[You must be registered and logged in to see this image.]
2.แล้วกดOK(จะ เพิ่มความนูนได้ตรงDepthที่ถูกตั้งไว้100%)
[You must be registered and logged in to see this image.]
3.เมื่อเสร็จ แล้วก็จะไปที่ Save for Web
[You must be registered and logged in to see this image.]
4.แล้วคลิกOK
[You must be registered and logged in to see this image.]
เสร็จแล้วคับ


 ~::MØÑ€Ÿ::~
 ชื่อเสียง&น้ำใจ
 ทีอยู่
 by
by 


